 |
||
|
Image © Copyright 2006 Warner Bros. |
||
| There is a classic scene in The Dirty Dozen where two German guards are sitting in front of a sentry box discussing their families and how they are expecting to go home on furlough soon, while unbeknownst to them the movie’s heroes are sneaking up to ambush them. It’s a scene that has now become a cinematic cliché.
The sentry box in that scene was an authentic reproduction of the type of sentry box that was commonplace across all of Germany and the occupied territories. At roadside checkpoints, outside military installations, aside strategic bridges – everywhere a guard was stationed, one of these strikingly painted structures could be found. This article will show you how to build a sentry box for use in World War II gaming. The plans are drawn for 28mm scale but can be enlarged or shrunk to suit your preferred scale, and the techniques of course apply to any scale. So put a new blade in your hobby knife, download and print the plans in the attached PDF and let’s get started. |
|
|
Getting Started
We’ll start by making the wall sections out of the 1mm sheet of balsa.
The first thing to do is cut the curved section out for the doorway. If you have a really sharp knife, you can cut a neat semi-circle through the balsa, but it takes a steady hand and some practice to get it right. Here’s my solution to the problem – use a circular knife.
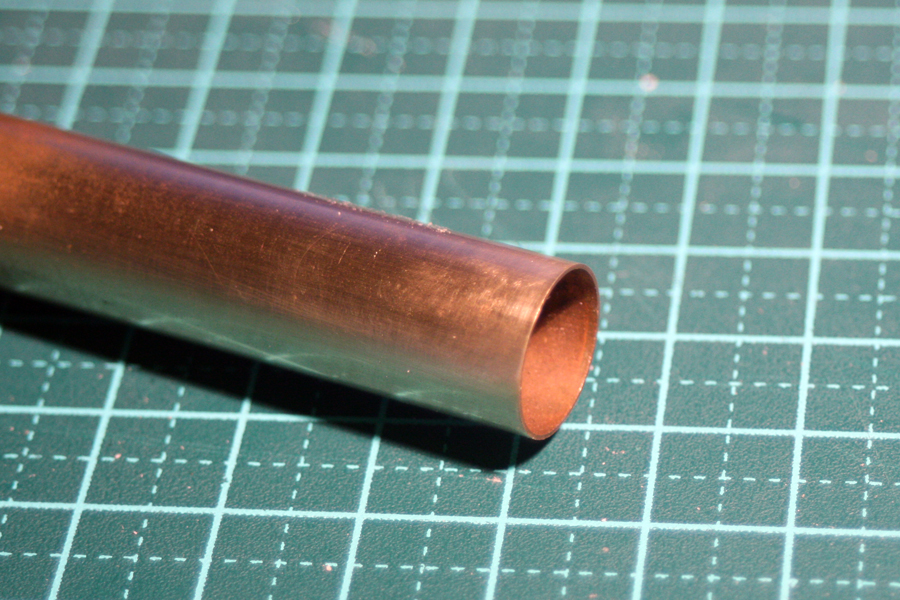
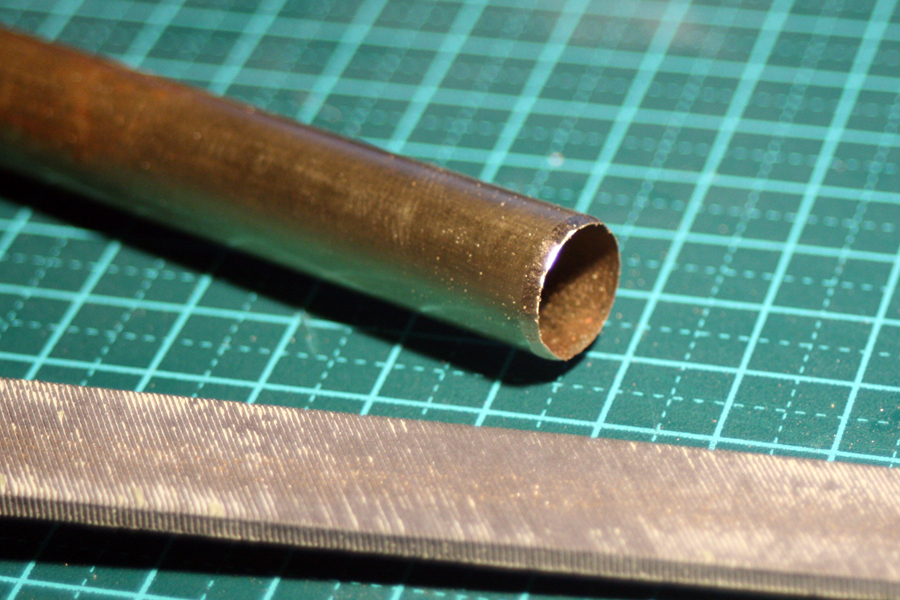
Take a length of 12.5mm brass tubing and file around one end until it is reasonably sharp. You can use a Dremel if you like, but I just used a regular old file – it doesn’t have to be perfect.
  |
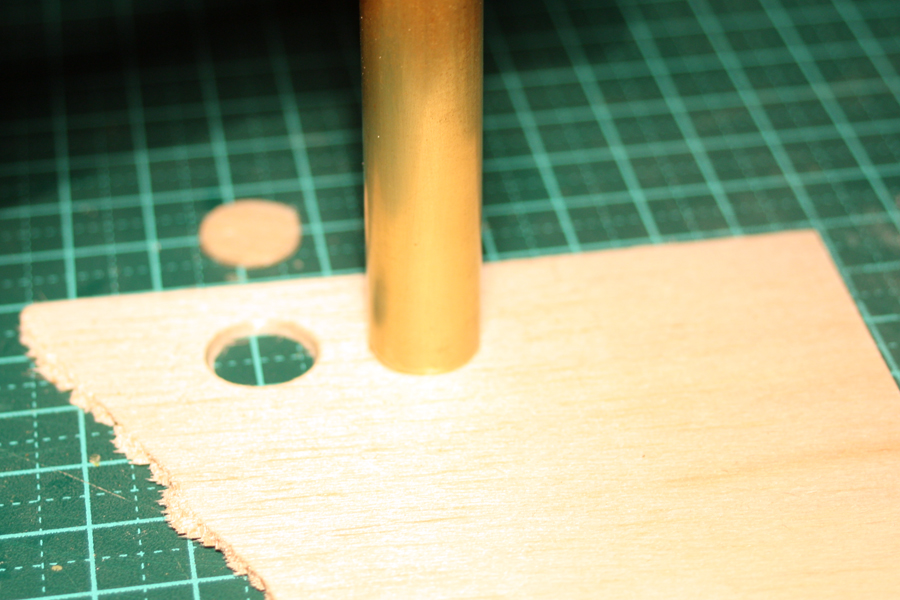
| Then gently press it into the soft 1mm balsa wood, twisting slightly as you go. Voila! It cuts a perfect circle. Practice this a few times on a scrap of balsa, just to get used to the technique. You will find it can be used to cut through card, paper, and up to quite a reasonable thickness of balsa.
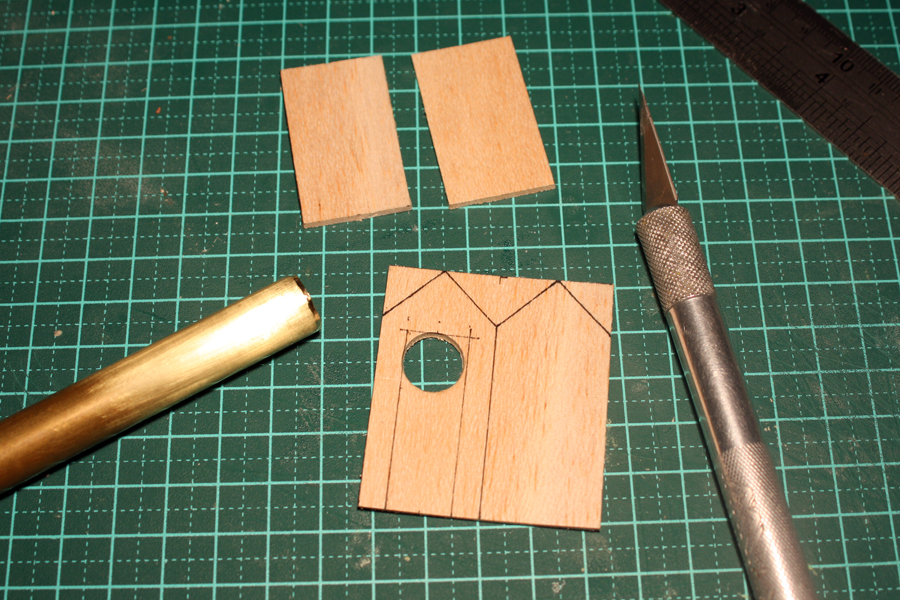
It’s best to cut the circle out of the sheet balsa before you cut the whole shape out, because thin balsa is prone to breaking easily. So mark out the shape of the front panel on the balse and, using whichever method you find easiest, cut the circle out for the top of the door frame. Now use your sharpest blade, carefully cut out the rest of the front panel and the remaining three wall panels. |
 |
   |
|
Cut the roof section out of a piece of thin cardboard (a breakfast cereal box is ideal).