| I use this technique to produce highly detailed and realistic-looking walls for buildings and stonework for pretty much any era, from ancient Egypt to the 41st Millennium. The procedure is not difficult to master, but is a little time consuming – the finished results however are worth the effort. |
|
Basing Material
The walls are constructed using some kind of base material and the stone effect is plastered over the top of it. I use a number of different materials for the base, depending on what it is I am building. For large structures such as castle walls and embankments, I use styrofoam. For smaller structures, I use 5mm balsa or foamcore, or even 3mm MDF. Whatever you use, it needs to be sturdy enough to take a bit of pressure while the stone-working process is under way.
Laying it on Thick!
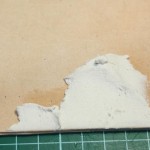
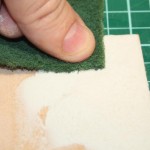
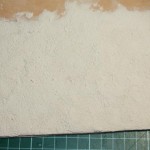
Ok, not too thick. Once the wall is constructed, spread a 1mm thin layer of Polyfilla over a section of the base. Do this in small sections so that the base material doesn’t warp.After spreading it out and smoothing it down, firmly press a kitchen scourer pad onto the surface of the Polyfilla, giving it a rough texture. Leave it to dry until it is very firm (several hours, depending on the weather). Repeat this process until the whole wall is covered and textured. You can use the same technique for texturing groundwork, instead of using sand.
You need to leave the Polyfilla long enough for it to set properly (I recommend leaving it overnight). If you do the next step while it is still soft, parts of the Polyfilla will break off and it won’t look as good. You can always spread more Polyfilla over the unsightly parts and do it again, so it’s not a disaster and is easily fixed.Scribing the Stonework
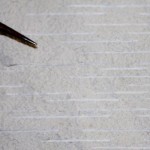
Use the steel ruler and scriber to cut a series of randomly-spaced horizontal lines into the Polyfilla. Then join these lines up vertically in the same way. You end up with a series of randomly-sized rectangles that can now be painted to look like stone.
Not much to it was there? It’s a tedious process though (and tough on the fingers), which is why I have made a mould of one wall and cast it repeatedly now for my larger projects.


